
In a recent post I pointed out how having my hobby code in source control helped diagnose an issue when migrating from one OS and Visual Studio version to another. But if you’re just playing around with some code at home and don’t have much time or money to devote to your fun there’s still no excuse to back up your work and track changes. Microsoft has already provided a free development environment and a free SQL Database. Recently they also started providing free source control.
Haven’t there been numerous options for this for some time now? Yes. However, they’ve had limited integration with Visual Studio and though not terribly difficult to learn and configure many just playing around with code may not have the time or inclination to try.
Microsoft’s Team Foundation Server has been around for years but has historically been something an organization had to host and support on their own servers. Oh, and it was also very expensive. Expensive enough that even companies that I’ve worked for shied away from it. That changed when TFS was moved onto the cloud (using Windows Azure, of course) and Microsoft decided to craft a plan that allowed for a free tier of TFS hosting. The free tier allows for unlimited projects and up to five developer accounts. Unless you’re starting up a serious business with multiple employee developers this means it’s free!
How easy is it to get started? Here’s a quick run through. Note that the steps below don’t include the steps necessary to set up an account on the TFS server, but I didn’t want to delete my account there to show the steps, so you’ll have to manage on your own. You’ll need a Windows Live ID to sign up, but it’s all very simple.
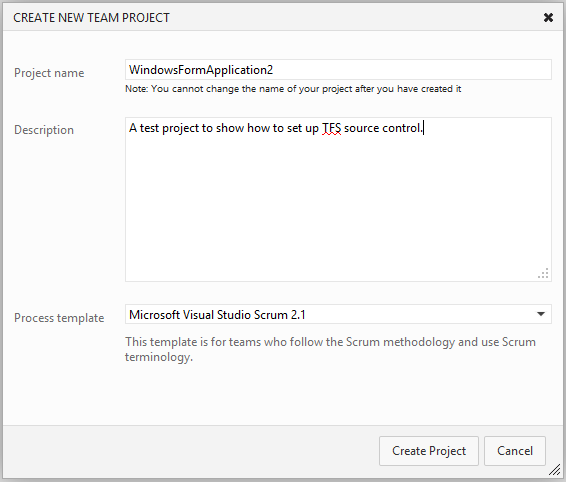
Once you’ve set up a TFS account you’ll be given a unique URL for accessing services (https://<your_account_name>.visualstudio.com/). First you’ll need to create a project on the TFS server that will be used to track our source code. Click on the “New Team Project” button and enter a name and description for the project. We won’t worry about the process template value for this simple walk through.
Let’s start up Visual Studio 2012 Express and create a quick project that we’ll track add to source control. Right click on the solution in the Solution Explorer window and choose the “Add Solution to Source Control…” option.
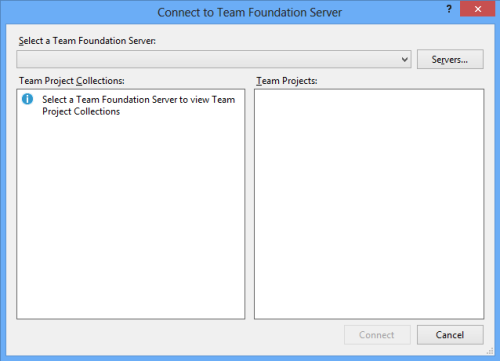
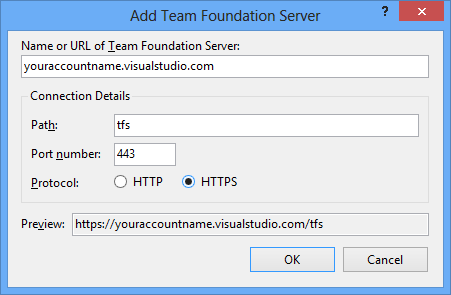
If this is your first time using TFS there will be no servers listed in the Connect to Team Foundation Server dialog, so press the “Servers…” button and lets add your account info:
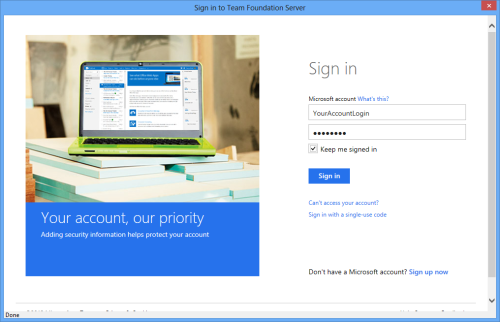
If you’re not already authenticated with your account credentials you may be asked to provide them now.
Now select your just added server in Connect to Team Foundation Server dialog and select the project that you added earlier:
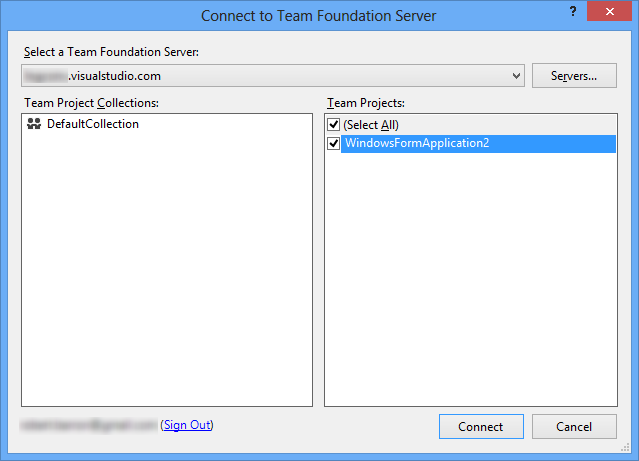
Press Connect
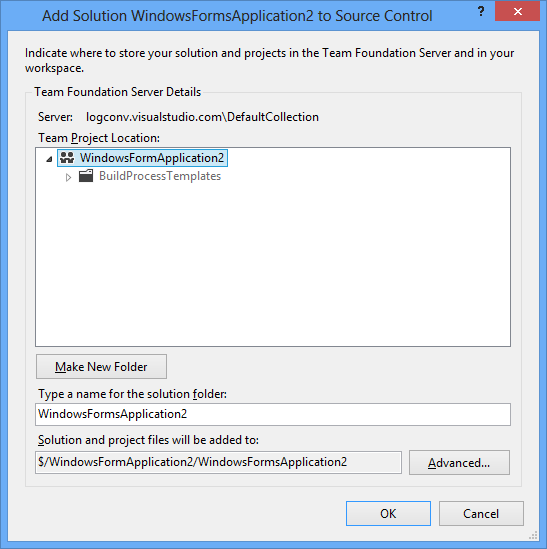
And then press OK.
And, now you’ve set up source control for you solution! But you might be wondering why nothing much seems to have changed and source code files don’t show up on the TFS server. All of the files in the project are marked as “newly added”. You can check this by hovering your cursor over the “+” mark next to some of the solution files. They’re waiting to be checked in, which you can do by right clicking on the solution node in the Solution Explorer, and then selecting the “Check In…” option.
Any check in should include a comment. After all, we are trying to keep track of what’s changed and why. The Team Explorer will ask for this information. Let’s keep it simple this time around:
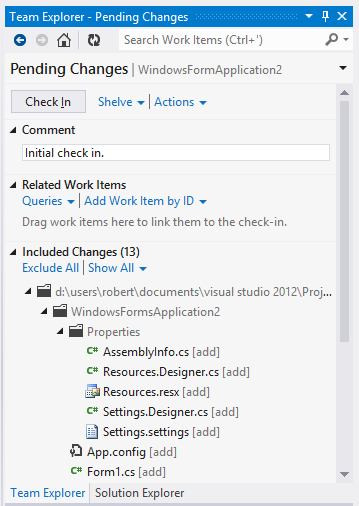
Press the “Check In” button and then click OK when it asks if you’re sure that you want to check in.
Now, you’re really done. You’re code has been checked into the TFS servers in the cloud. Go back to the Solution Explorer and note that all of the files have a lock icon next to them that indicate that the file has been checked in. Go to your TFS URL and now you should be able to see all of the source files, including the comment included with the last check in and the user who did so.
In just a few minutes you have free, fully integrated source control for your project!
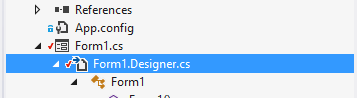
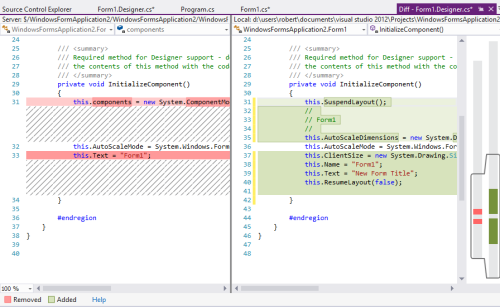
Changes are easy as well. There’s no need to check out a source file. Or use Windows shell extensions outside of Visual Studio to handle check ins. Just edit a file as needed and test the results. If I edit the Form1 dialog’s title, the affected files’ Solution Explorer’s icons include a check mark indicating that they are “checked out”.
Right click on a modified file and select “Compare…” to see the changes that were made.
Repeat the step earlier to check in the changes and everything is in sync. Easy!
TFS provides plenty of features in addition to simple source control that are well worth looking into. For now, take a few minutes and get your code backed up and under control!